Communication Technology 2045: Vector Graphics 1
Prerequisite: Comm Tech 1035 - Graphic Tools
Outcomes:
1. create vector images using graphic applications
1.1 set up a document, considering;
1.1.1 printed area; e.g., single or multipage documents, artboards
1.1.2 document profile; e.g., print, Web, mobile devices, video and film, basic cyan-magentayellow-key black (CMYK) colour model, basic red-green-blue (RGB) colour model
1.1.3 colour spaces
1.2 draw and transform objects by:
1.2.1 creating and modifying a vector object using a pen tool and bezier controls
1.2.2 adjusting stroke settings
1.2.3 cutting, erasing or deleting portions of an object by using the appropriate tool(s)
1.2.4 editing objects, groups, symbols and more layers
1.2.5 creating a mask to hide parts of objects
1.2.6 using open and closed paths, compound paths and compound shapes
1.2.7 selecting one or more objects and arranging their stacking order
1.2.8 modifying an object with one or more transformation tools
1.3 manage colour and transparency by:
1.3.1 setting up colour management settings and proofing colour onscreen
1.3.2 creating or loading colour swatches
1.3.3 applying transparency options to objects
1.4 use type by:
1.4.1 creating text objects
1.4.2 formatting time by using character and paragraph attributes
1.4.3 creating and applying character and paragraph styles to text
1.4.4 using special characters
1.5 control effects, appearance and styles by:
1.5.1 adjusting the appearance of objects
1.5.2 saving and applying graphic styles
1.6 build objects by:
1.6.1 creating and formatting a graph
1.6.2 using and controlling gradient match
1.6.3 using and adjusting the settings for blend tool
1.6.4 choosing and/or creating the appropriate brush
1.7 import images into the document
1.8 prepare for electronic output by:
1.8.1 creating output for the Web and/or mobile devices using proper settings
1.8.2 choosing the correct over-printing options
1.8.3 previewing and analyzing colour separations
1.9 prepare for print output
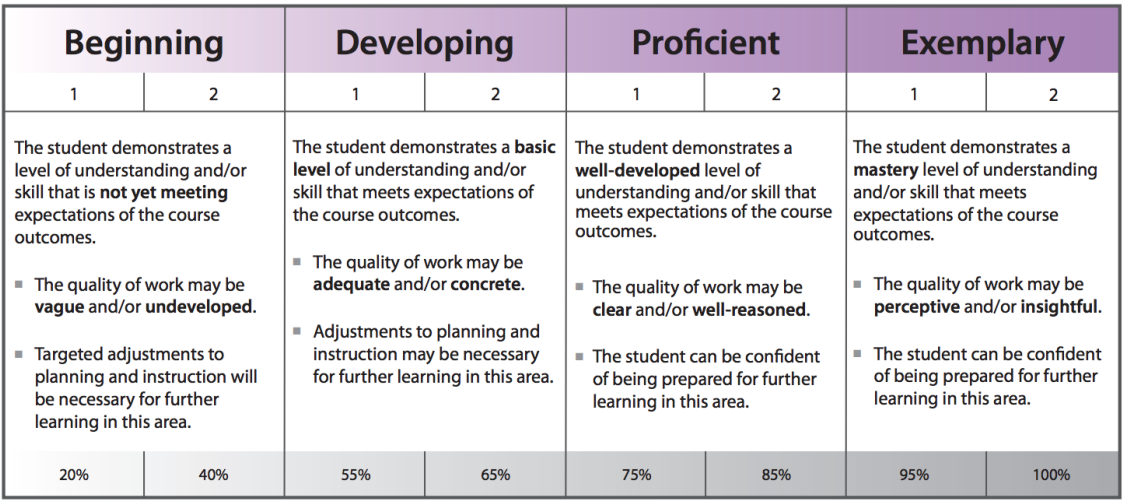
High School Assessment Rubric:
Assignment 1: Line Art - Pen tool, Curvature tool, Add/Remove Anchors, Line Tool, Blend Tool
This assignment is to get you back into the feel of illustrator and to deepen your knowledge.
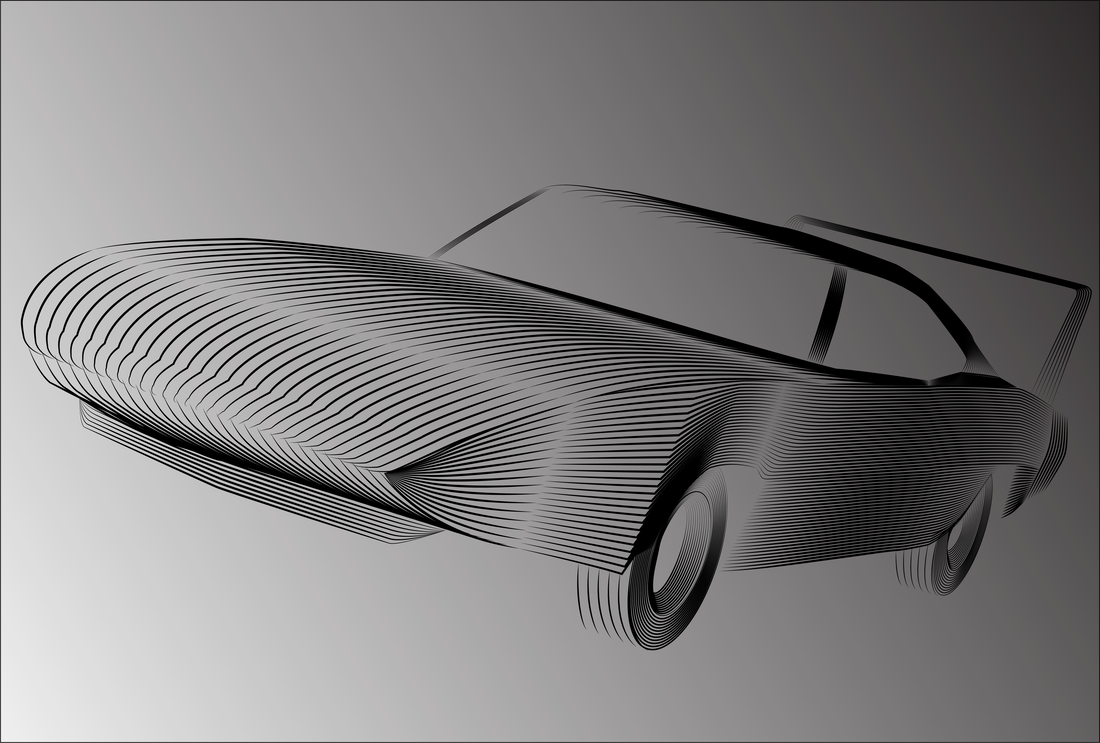
Your task is to create a piece of line art using the pen, brush, shape and blend tools. Your art can be a picture of a object or just a pattern you find super cool. Try blending different lines together to make an interesting visual. The tutorial is short and can be found here:
https://create.adobe.com/2017/3/22/simple_yet_stunning_how_to_create_artwork_with_illustrator_s_blend_tool.html
Some examples of what you can do:
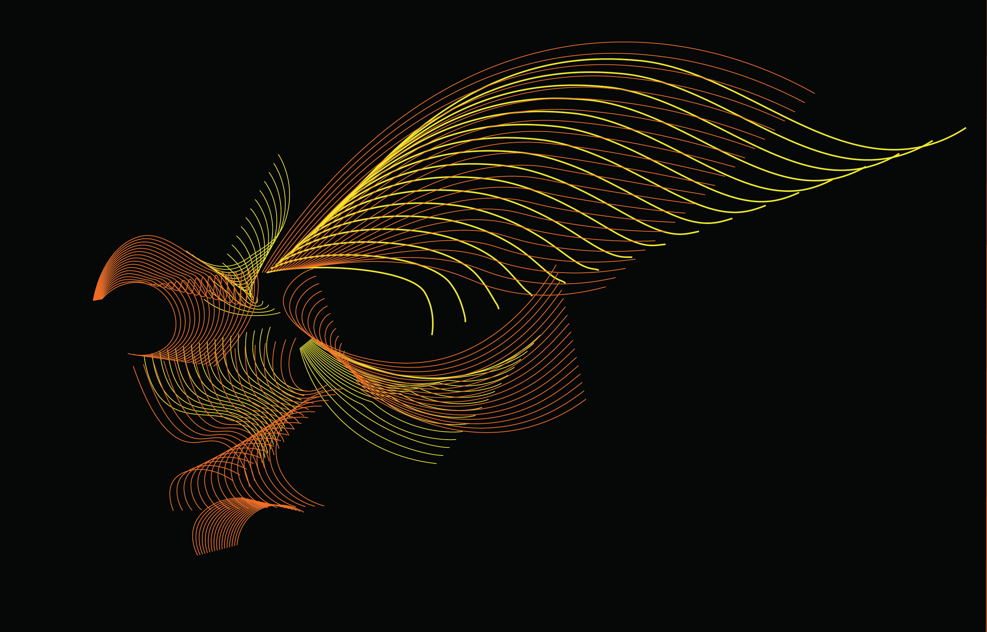
Once you get the hang of the line and pen tool and the blend tool, you can layer a picture on the bottom and "trace" and blend the lines to make full on line art pictures. For example, the car and the bottom lotus were both "traced" from an external picture. You should now be using the direct select tool to play with paths... i.e. you can add or remove anchors by using the add/remove anchor tool under the pen tool.
Your task is to create a piece of line art using the pen, brush, shape and blend tools. Your art can be a picture of a object or just a pattern you find super cool. Try blending different lines together to make an interesting visual. The tutorial is short and can be found here:
https://create.adobe.com/2017/3/22/simple_yet_stunning_how_to_create_artwork_with_illustrator_s_blend_tool.html
Some examples of what you can do:
Once you get the hang of the line and pen tool and the blend tool, you can layer a picture on the bottom and "trace" and blend the lines to make full on line art pictures. For example, the car and the bottom lotus were both "traced" from an external picture. You should now be using the direct select tool to play with paths... i.e. you can add or remove anchors by using the add/remove anchor tool under the pen tool.
|

|
|
Credit: Aiden Marcotte-Snow
|
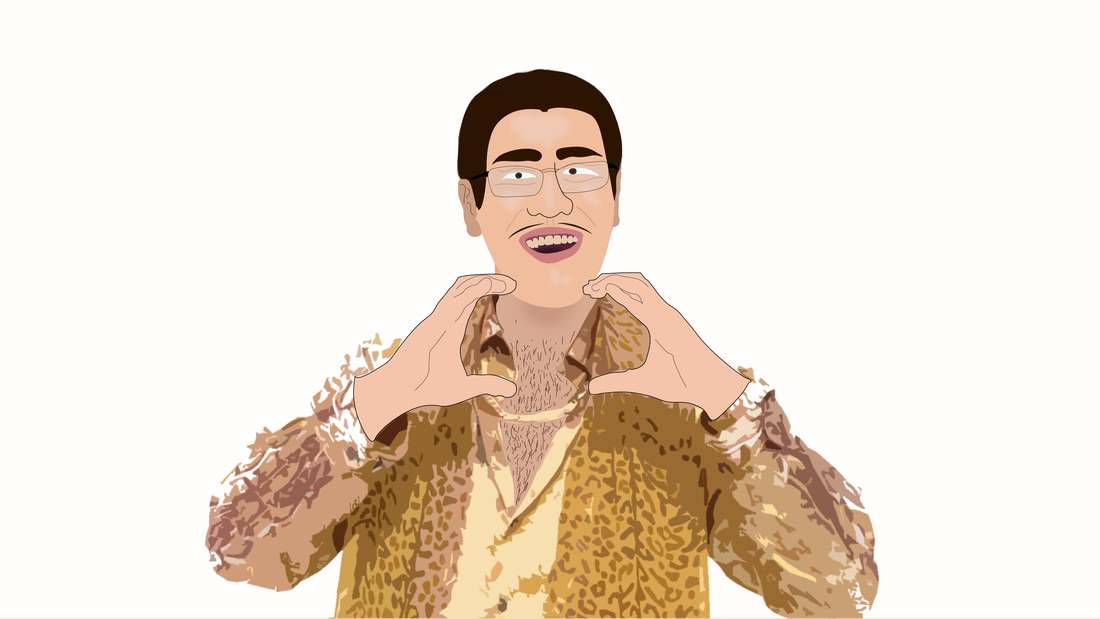
Assignment 2: Cartoonify a Photo
Cartoon something from a photograph (could be anything, a landscape, a building, this room) This assignment will have you working with layers and masks. Drop a photograph into illustrator on the bottom layer and accent and colour on top. Use the opacity slider to make it easier to see and colour. The final image must be styled to look like a cartoon. You may not "colour" for this assignment. You must use complete joined vectors, the fill tool and layers to complete your projects. You will be marked accordingly.
Examples:
Examples:


|

|
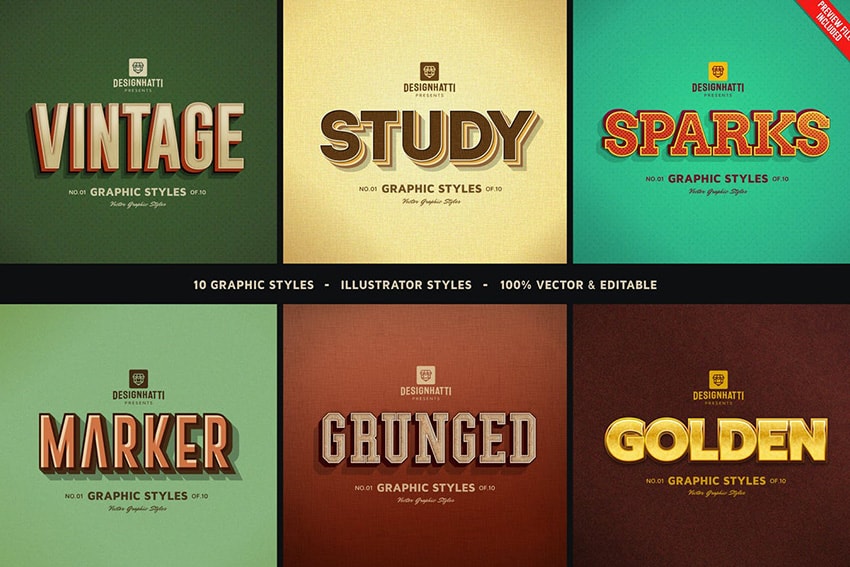
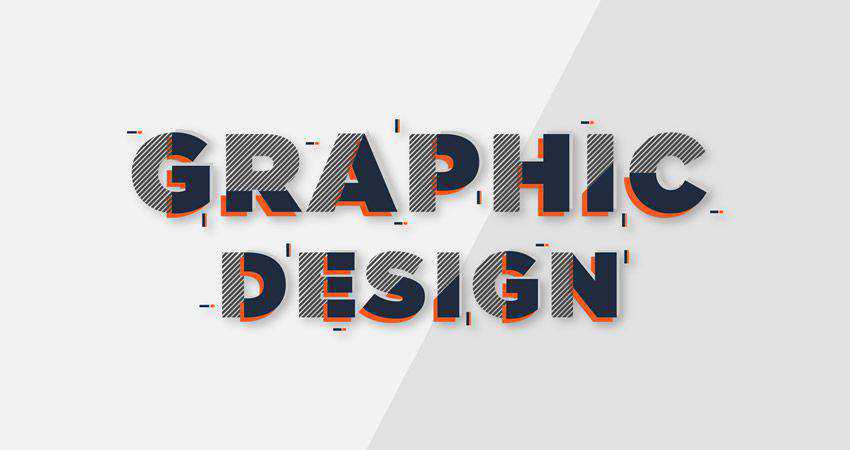
Assignment 3: The Text Tool
In this assignment I want you to create one of those annoying kitchy "Live, Love, Laugh", "Eat, Pray, Love" or my personal favorite "Eat, Sleep, Poop". Personally I don't really care what phrase or set of words you use. But I want to see some text effects. There are a plethora of Text Tutorials out there for Illustrator, and this assignment has you finding one, and following it to get something unique and cool. At this point in the course, you should be able to start to strike out on your own and decide what is cool and what you should be working on. I will be guiding you in what skills you need, but not necessarily how to gain them. There are just far too many options for text for me to decide this one for you.
Here are some examples of what you should be looking at for this assignment
https://www.youtube.com/watch?v=Rt15_OclsyI&ab_channel=SpoonGraphics
https://www.youtube.com/watch?v=8UpedaWY_2E&ab_channel=TeachMeToDesign
https://www.youtube.com/watch?v=2RImnOF4V9M&ab_channel=Teacheetah
Here are some examples of what you should be looking at for this assignment
https://www.youtube.com/watch?v=Rt15_OclsyI&ab_channel=SpoonGraphics
https://www.youtube.com/watch?v=8UpedaWY_2E&ab_channel=TeachMeToDesign
https://www.youtube.com/watch?v=2RImnOF4V9M&ab_channel=Teacheetah

|
|
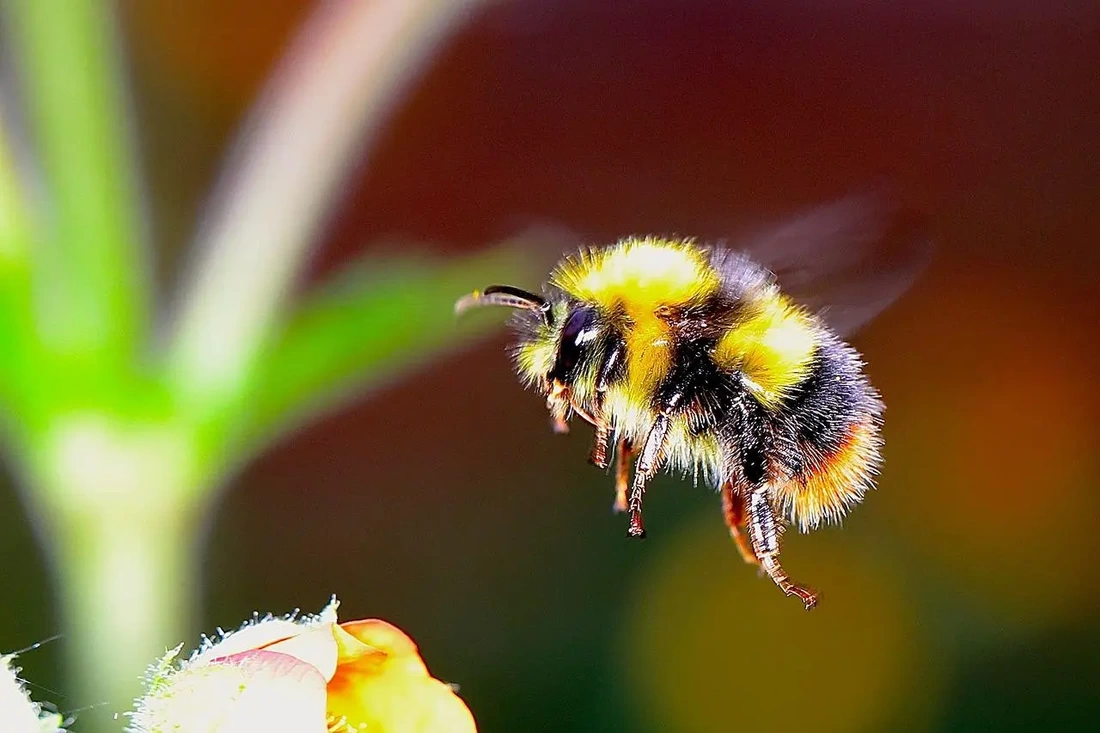
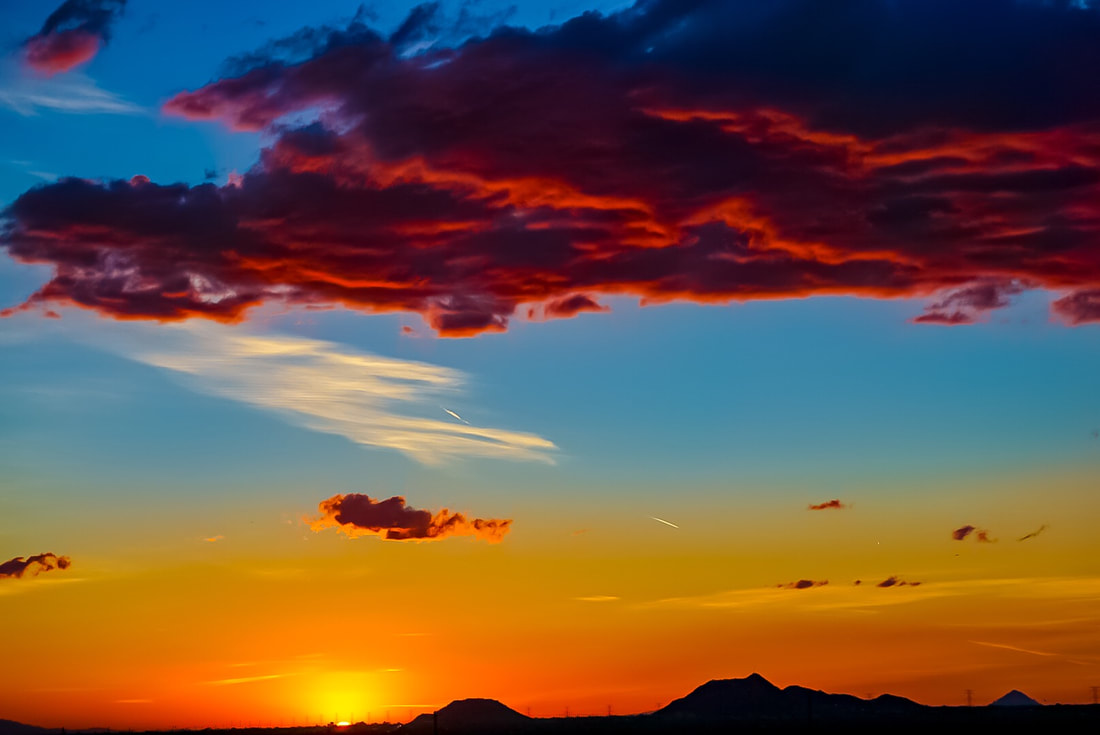
Assignment 4: Natural Scene - Gradients
Gradients give pictures depth and subtlety. In this assignment I would like to see a some gradient work, building on what you know already. I would like you to take a natural scene of some sort. Space scene, bumble bee, monarch butterfly, sunset and I would like to see its natural gradient replaced by an artifical gradient. Some examples of images you can choose follow. But feel free to choose your own. Again, you should underlay your photo, quickly convert it to a vector graphic and then play with the gradient tool.
|


Credit: Aiden Marcotte-Snow
|
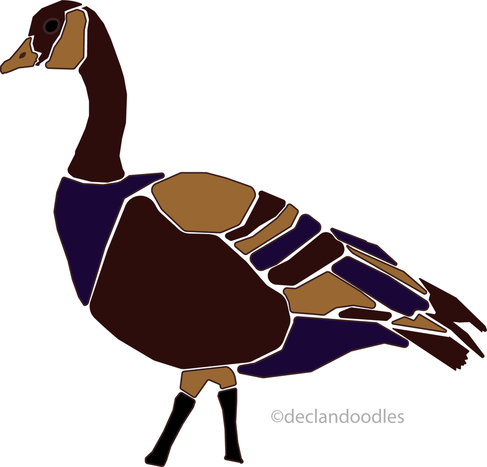
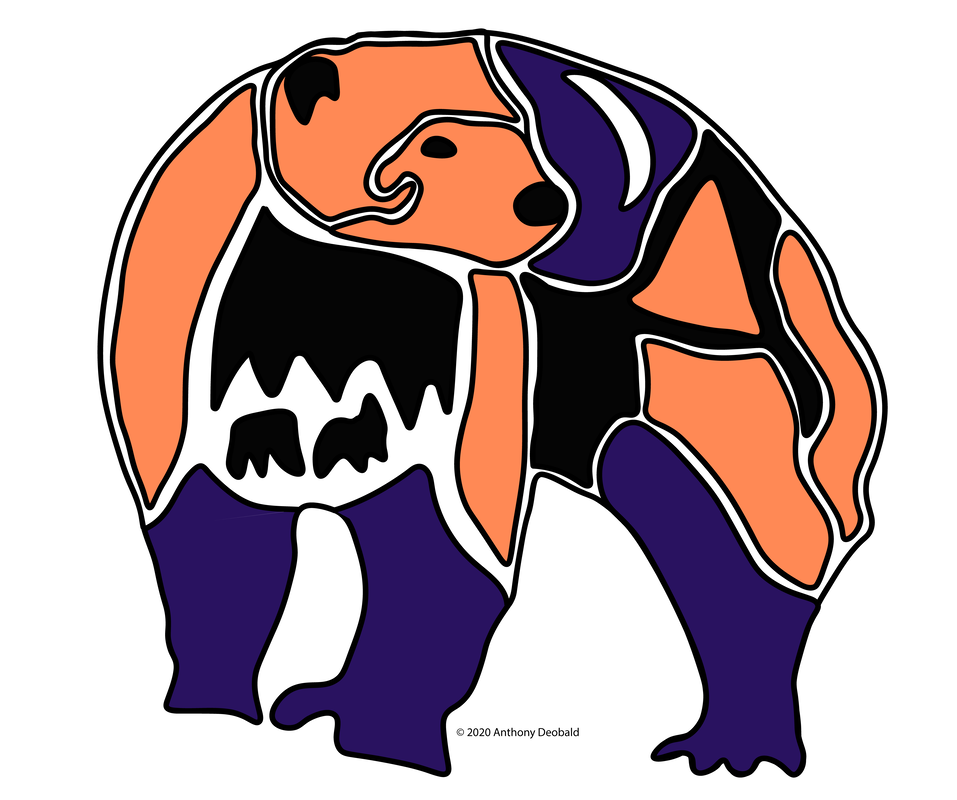
Assignment 5: Aboriginal Abstracts - Brush Tool, Pathfinder, Knife Tool, Scissors
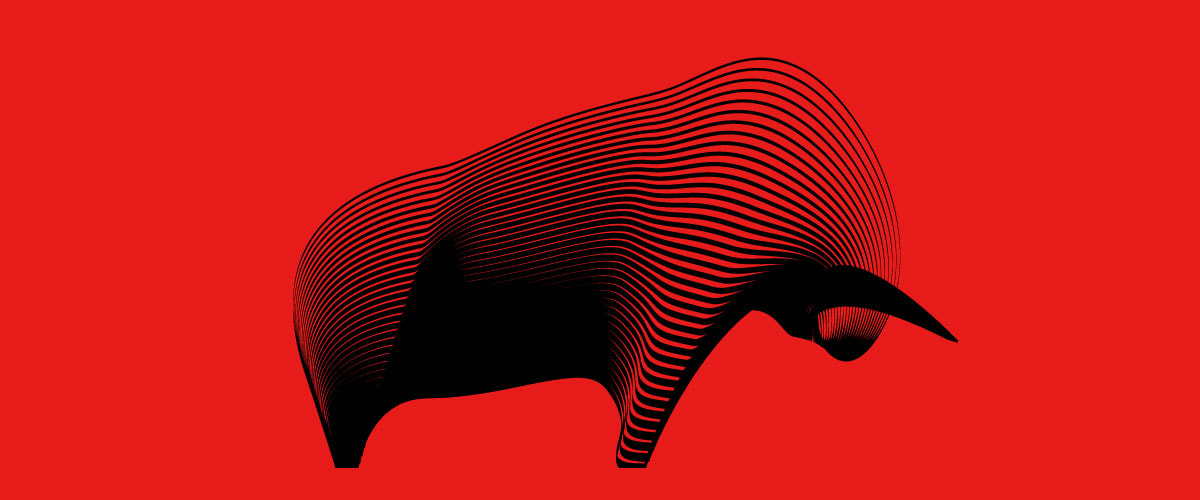
At this point you should be getting darn near proficient with Illustrator. And its time to take it to the next level with the Pathfinder Tool and things like the knife tool. The goal of this assignment is to take an animal and turn it into a piece of abstract aboriginal art. You will need to use the pen tool, arcs, transparencies and layers. I would start by finding a photo of an animal that would lend itself well to the art style. On the left is some professional works from google images, on the right is some student work illustrating what it can look like. Remember that these images use a hefty amount of negative white space.
|
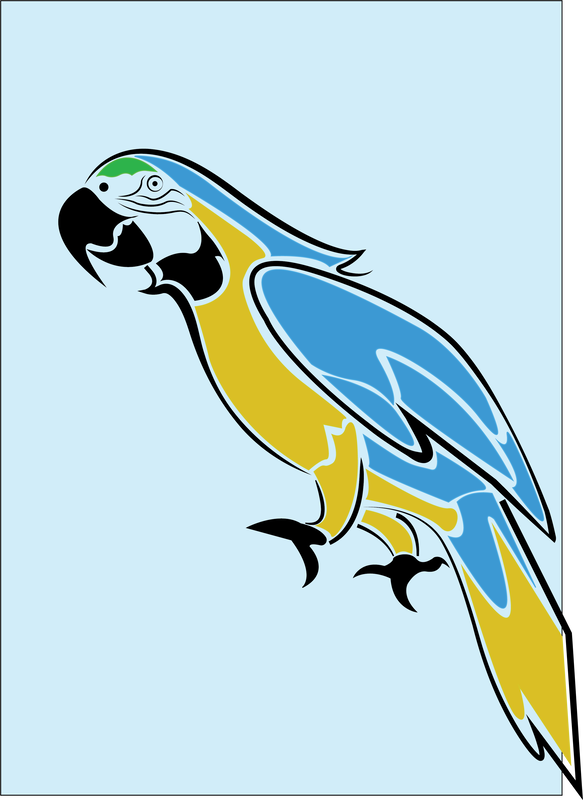
Credit: Aiden Marcotte-Snow |
Assignment 6: The Perspective Grid
If you choose to develop your illustrator skills any further, you'll need to understand the perspective tool. The perspective tool helps you illustrate dynamic perspective, you have complete control over every aspect of the grid. This tool is complicated but the quicker you understand it, the more you'll actually enjoy using illustrator. Illustrator feels like a stiff program and it feels very unintuitive to use, art wise. This is the first step into really feeling this programs abilities.

|
Step 1: Create a blank new layer for the grid. Go to your task bar and click view, go down to perspective grid and go to either one point perspective, two point perspective or three point perspective (I prefer two point perspective).
|


Assignment: Make a BuildingNow that you have at least a basic understanding of the Perspective grid. Your task is to create a building using the perspective tool. You'll need to use the perspective grid tool and have completed the program in illustrator. I would start the assignment by looking at references of strange perspectives to get a good idea of what you would like to replicate.
Perspective tool video for extra help: https://www.youtube.com/watch?v=JGj-xpvqfGM |
Step 2: you can only edit the perspective grid if you have the perspective tool, on your tool bar go to the three dots at the bottom and look for perspective tool in the "draw" section. If you can't find it you can reset your tool bar by clicking the rectangle on the top right of the toolbar editor and hitting reset toolbar.
Step 3: Experiment! It is confusing to use, but there's not much I can really advise, because it depends on the perspective you do. All I can do is tell you what each part does.
-The diamond shaped sliders in the middle of the grid define the size of grid squares the highest diamond slider affects the size of the grid. While the diamond sliders that are diagonal define your amount of grid squares, they also affect the size of your vanishing point. -At the bottom of your grid on the horizontal axis there will be two diamond sliders that extend off the canvas, these sliders control the positioning of the grid on your canvas. -The diamond sliders on the side that extend off the canvas above the diamond positioning sliders control where your vanishing point is on the Y axis. -The circle sliders on each end of the grid control the vanishing point on both the X axis and Y axis, as well as part the angle of the grid. -The middle circle slider has two intersecting lines that connect two the other circle sliders, you can only move this slider on the bottom of the grid. -The three grey circles at the bottom affect the position and angle of all three sides of the grid (you only need to use the middle most grey one). -It If your grid is off center, you can reset it by doing step one or you can implore a ruler tool by going to view, rulers, show rulers. and then going to the top ( or to the right) of your canvas where all the new numbers are and dragging down a ruler. -You can hide the grid tool by doing step one and going to hide grid. |
