Communication Technology 2035: Raster Graphics 1
Prerequisite: Comm Tech 1035 - Graphic Tools
Outcomes:
1. create raster images using graphic applications
1.1 set up a document, considering:
1.1.1 size
1.1.2 resolution
1.1.3 colour mode
1.1.4 background
1.2 organize and manage image files using correct file conventions by:
1.2.1 considering aspects of file size
1.2.2 explaining the benefits of different file formats
1.3 correct, paint and retouch images by:
1.3.1 adjusting options and painting; e.g., brush types, pencil, blending
1.3.2 using retouch tools appropriately given various situations
1.3.3 creating and using gradients and patterns
1.3.4 using filters
1.4 work with selections by:
1.4.1 creating a selection using the appropriate selection tool
1.4.2 saving and loading selections
1.4.3 moving and transforming selections
1.5 create and use layers by:
1.5.1 creating and arranging layers appropriately; e.g., using layer groups
1.5.2 creating and using layer effects
1.5.3 creating and using layer styles
1.6 work with masks by:
1.6.1 explaining the use of masks
1.6.2 using masks and painting tools to create and edit a layer mask
1.7 work with vector tools by:
1.7.1 creating shape layers and paths using vector tools
1.8 automate tasks
1.9 manage colour by:
1.9.1 describing the process and components of colour management; e.g., profiles, working spaces, rendering intents, settings
1.9.2 describing the proper colour conversion given common situations;
1.10 prepare image for output by:
1.10.1 creating a proof
1.10.2 discussing and using options in print dialog box
1.10.3 creating a flattened CMYK image
1.10.4 creating a layered RGB with layer comps
1.10.5 creating a .pdf with vector layers
2. identify copyright restrictions and permissions and put them into practice
3. present a selection of work completed in this course to an audience
3.1 discuss work regarding:
3.1.1 how the elements and principles of design help facilitate good composition in his or her work
3.1.2 the technical and creative aspects of the work; e.g., quality, uniqueness
3.1.3 areas of concern/difficulty (if applicable)
3.1.4 meeting school and community standards; e.g., appropriate language
3.1.5 the use of tools and equipment
3.2 participate in peer/teacher assessment
3.3 add the selected work to a portfolio
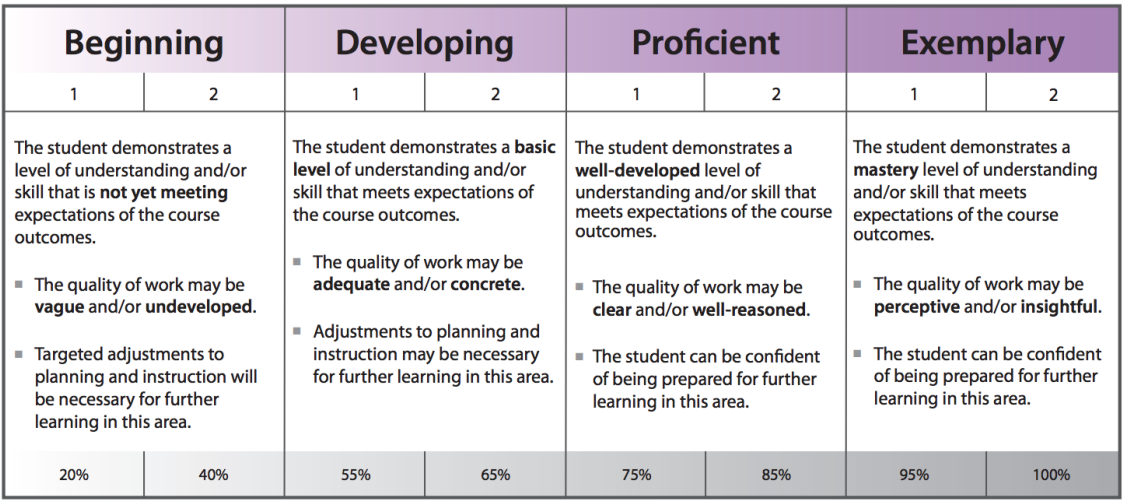
High School Assessment Rubric:
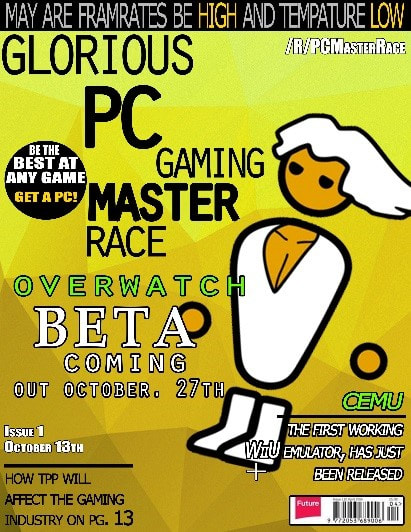
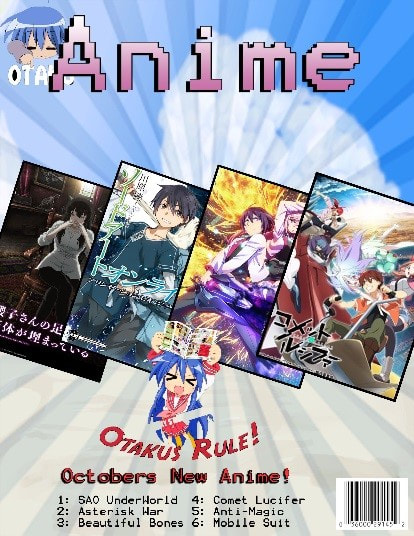
Assignment 1: Magazine Cover/Book Cover
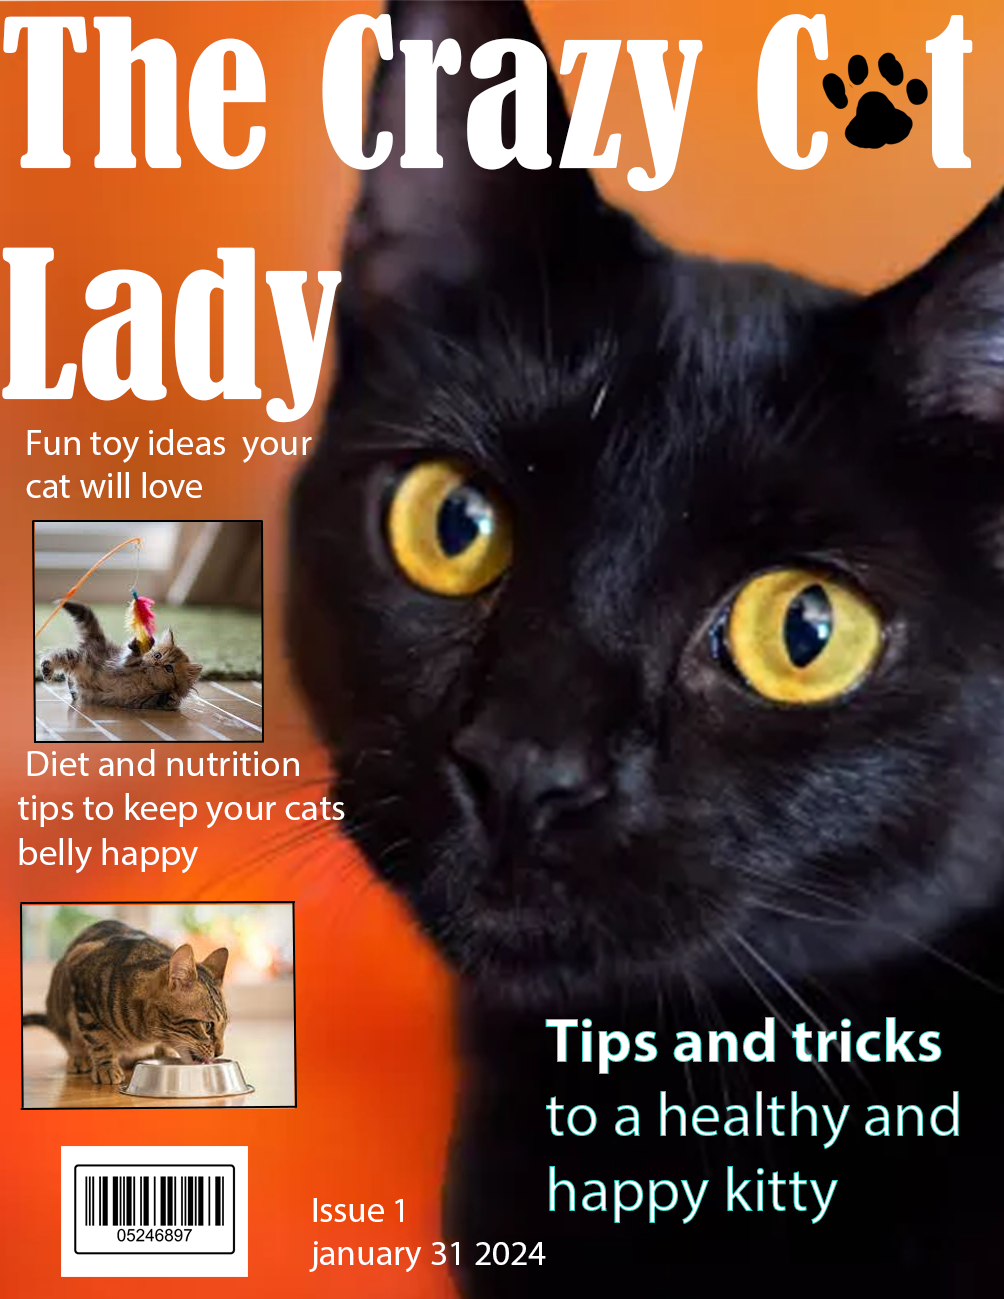
I want you to create a fictitious magazine company and to create the cover for it’s first ever issue. You will need to use the principles of design to make sure your magazine is artistic enough to fly off the shelves. Remember, graphic design is about the choices you make, so make sure you think about each decision carefully. Think about the font that best suits your intended demographic (no bubble letters for an adult themed magazine), also the colours that will best communicate your message (think about complimentary colours and balance). A well done project will produce a magazine visually pleasing enough that it would not seem out of place on a magazine rack at the grocery store.
Specifics:
Your magazine must contain the following elements and be made as an 8.5 x 11 document:
We will be printing your magazine cover, so be sure to pay attention document set up and image output.
Look at this link for some ideas of how an actual magazine cover looks.
https://www.google.com/search?q=nintendo+power&rlz=1C1GCEA_enCA979CA979&source=lnms&tbm=isch&sa=X&ved=2ahUKEwiX8K-k-cf-AhVCMTQIHXpJCeAQ_AUoAXoECAEQAw&biw=1536&bih=775&dpr=1.25
Specifics:
Your magazine must contain the following elements and be made as an 8.5 x 11 document:
- A Title
- A main photograph/element
- A minimum of two (or more) sub headlines.
- A date/issue somewhere on the magazine
- A barcode
- A minimum of one shape created with the shape tool. (lines count)
We will be printing your magazine cover, so be sure to pay attention document set up and image output.
Look at this link for some ideas of how an actual magazine cover looks.
https://www.google.com/search?q=nintendo+power&rlz=1C1GCEA_enCA979CA979&source=lnms&tbm=isch&sa=X&ved=2ahUKEwiX8K-k-cf-AhVCMTQIHXpJCeAQ_AUoAXoECAEQAw&biw=1536&bih=775&dpr=1.25
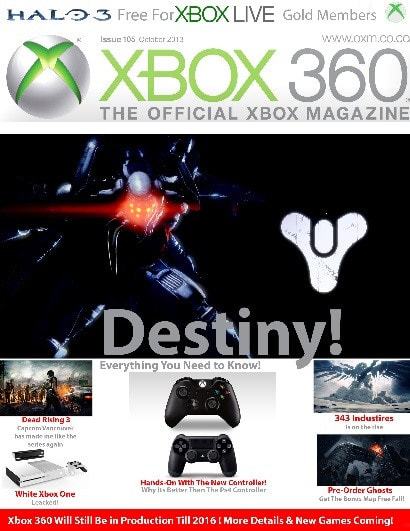
Credit: Ethan McDonald
|
|
|
Credit: Tasha Sian
|
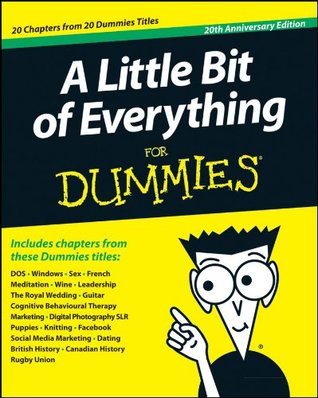
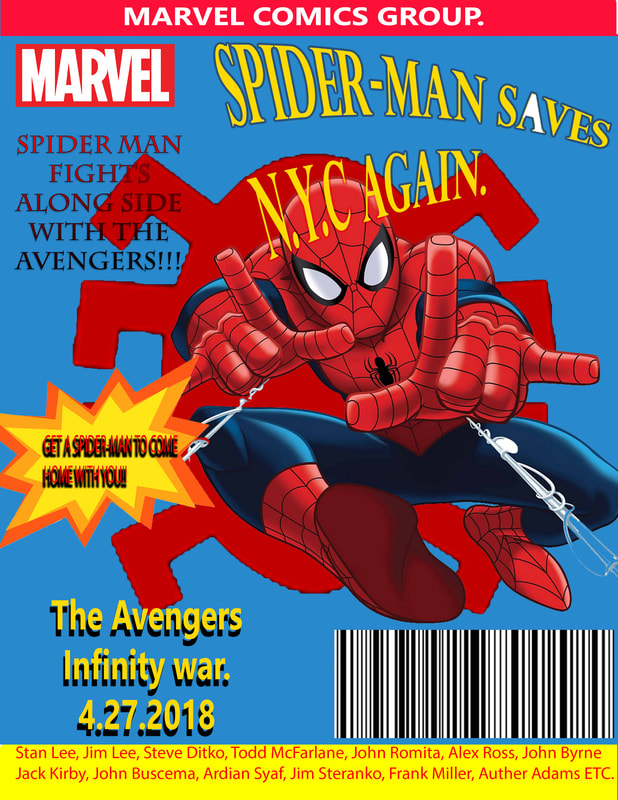
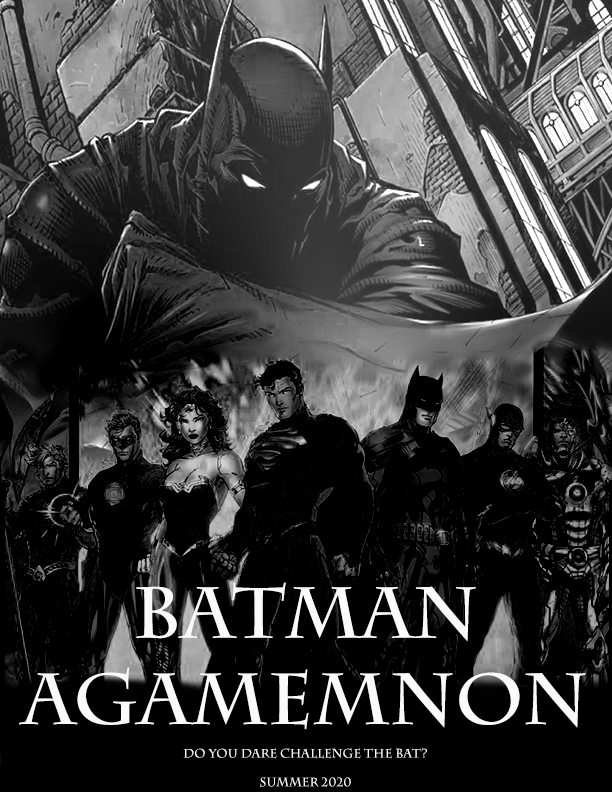
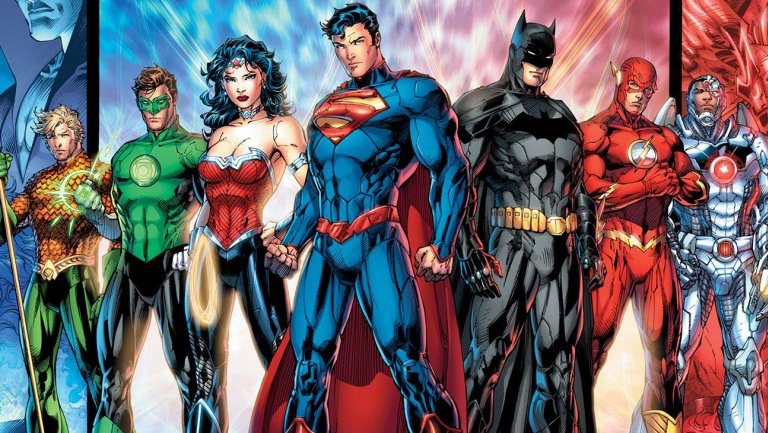
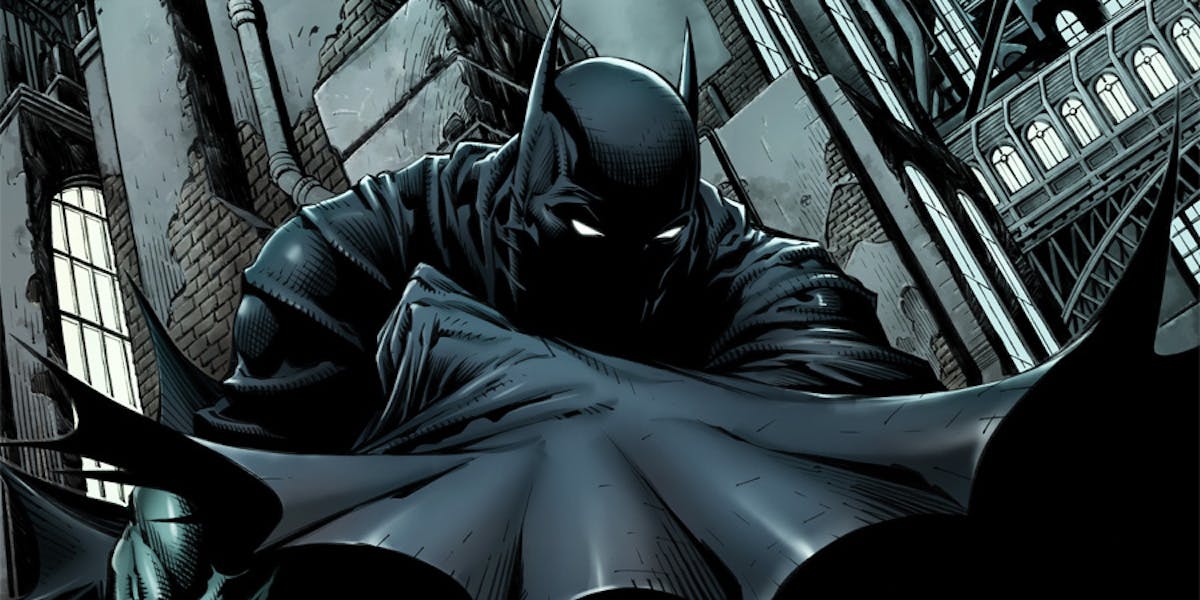
For those of you who have already done or would prefer to do a book cover/comic cover, do any of these:
1. A "For Dummies" book
2. An alternate book cover (think Harry Potter, The Hunger Games)
3. A poster advertising some event or service for Jack James
4. Comic book cover
Examples:
1. A "For Dummies" book
2. An alternate book cover (think Harry Potter, The Hunger Games)
3. A poster advertising some event or service for Jack James
4. Comic book cover
Examples:
|

|
|
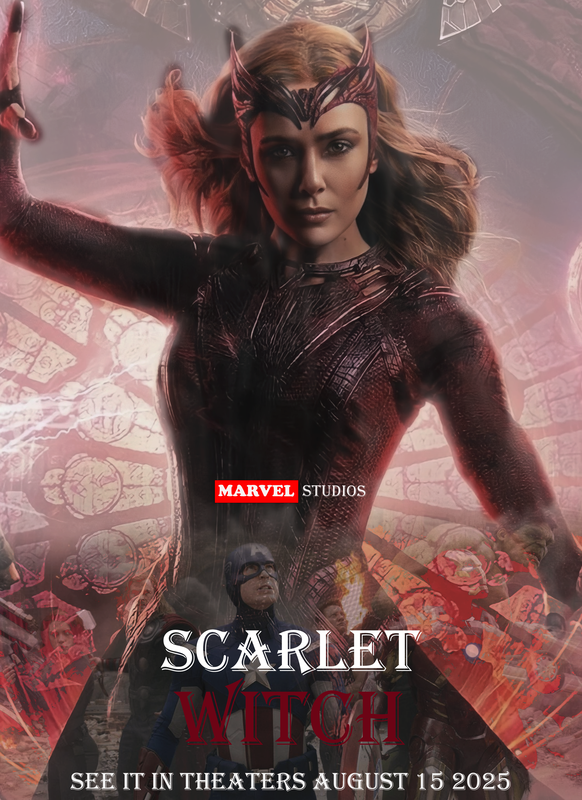
Assignment 2: Movie Poster (Option 1)
Your job is to combine two photographs and add text to create a movie poster. Here is the tutorial and some examples.
https://www.photoshopessentials.com/photo-effects/blend-photos-lmovie-poster-photoshop/
Here is the youtube link: https://www.youtube.com/watch?time_continue=263&v=_a60ur9Dkps
Here are the basic steps:
1. Begin with a 8x11 art board in Photoshop
2. Import the two pictures you are going to combine
3. Select both layers of images, right click and hit "rasterize images"
4. Under the edit menu, scroll down until you find the autoblend layers tool. Stack and autoblend
5. Add a layer mask to the document using the layer mask command in the layers menu.
5.a. using a layer mask should correct and smooth the colour between both images.
6. Add text, filters, blend, touch up the image.
6.a. use the blur tool, the smudge tool, or gradient tool to
7. Prepare for printing and save to your personal folder.
Below is a photoshop file if you were interested in seeing what the layers and the finished product looks like, as well as a sample of my own works.
Option 2:
Craft an original piece of art depicting you favorite video game or movie.
|
| ||
Examples:
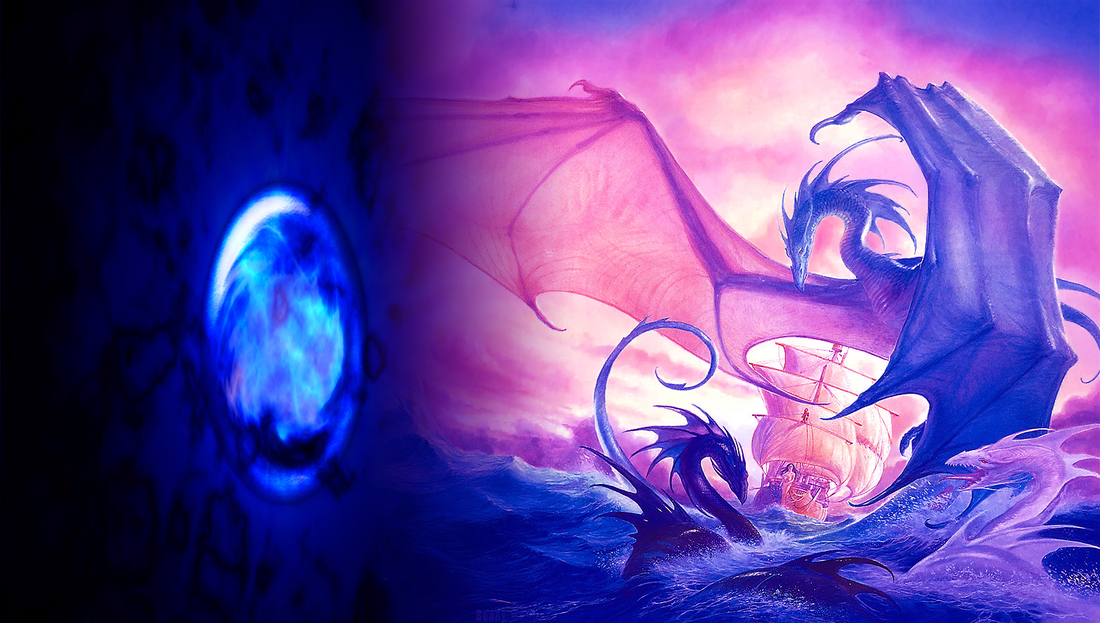
Credit: Zane Oliver

|
Credit: Tasha Sian
|
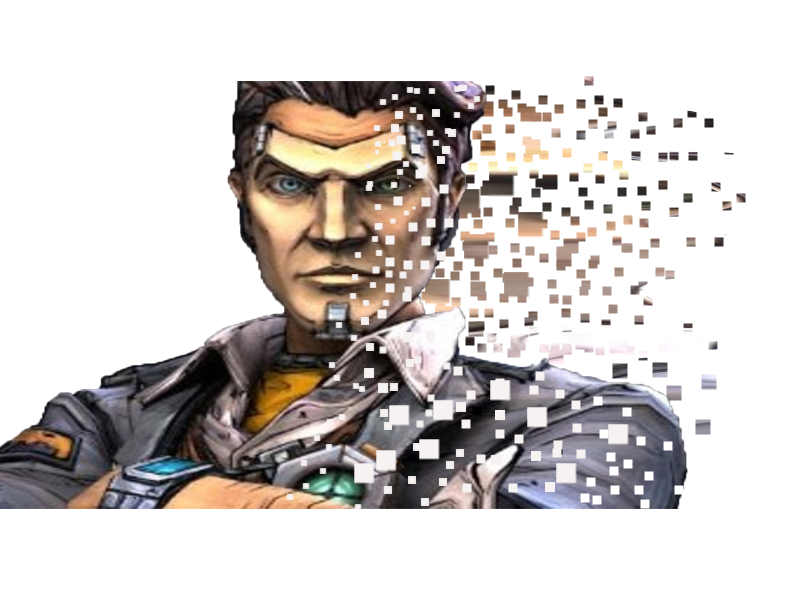
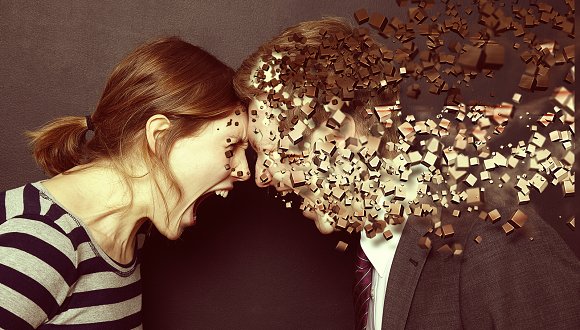
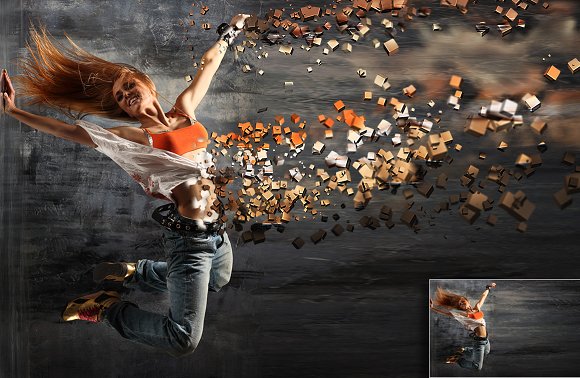
Assignment 3: Cube Dispersion Art (or other similar Photoshop Effect)
This project is designed to show you a few neat tricks that will help you enhance any photo. To create this interesting “cube dispersion” effect, you need to master a few important Photoshop concepts. First, you will need to use layer masks so that you are not permanently damaging your original art work. This is a fundamental skill for any professional Photoshop user. Second, you will need to use a new pallet of brushes. Finally, you will need to let loose your creative energy to decide where your cubes will go to get the maximum effect. Follow these quick steps to create your very own piece!
Steps to take
1.Crop yourself out of your photograph, and copy it to a new document
2.Make a duplicate of the layer with you picture. You should now have 3 layers.. A background layer, and two layers containing identical copies of your photograph
3.Select the bottom layer with your photo on it and then liquefy the photo. To get to the Liquefy screen you need to go to “filter” at the top of Photoshop, then “Liquefy”.
4.On the Liquefy screen, pull your image in the direction which the dispersion effect will ultimately go.
5.Add a layer mask to both photo layers. To do this, select the layer and hit the button on the bottom of the screen that says “layer mask”. (It looks like a square symbol with a circle in it
6.On a layer mask, painting black will “erase” the image, while painting white will bring the image back.
7.Paint the liquefied layer all black so it is no longer visible. Be sure to paint on the layer mask and not your actual photo.
8.Now you need to change your brushes over to “Square brushes”. To do this go to the brush select screen and hit the gear symbol on the right of the screen. Go to square brushes and select the brush. (This is under the cog wheel now, select legacy brushes and scroll down.)
9.You can now use the square brush (with black selected) to remove chucks of your photo (the original layer, on the layer mask, NOT the liquefied). Do this until the photo is dispersed along the side. Be sure to remove sufficient amounts of the photo to maximize the effect.
10.Paint on the liquefied layer mask with a white square brush to bring back cube elements. This will create the effect!
11.Be sure to vary the size of your brush using the [ and ] keys. Play with the image until you are satisfied with the effect. Examples

This photoshop file shows you how your layers should look in the program.
|
| ||
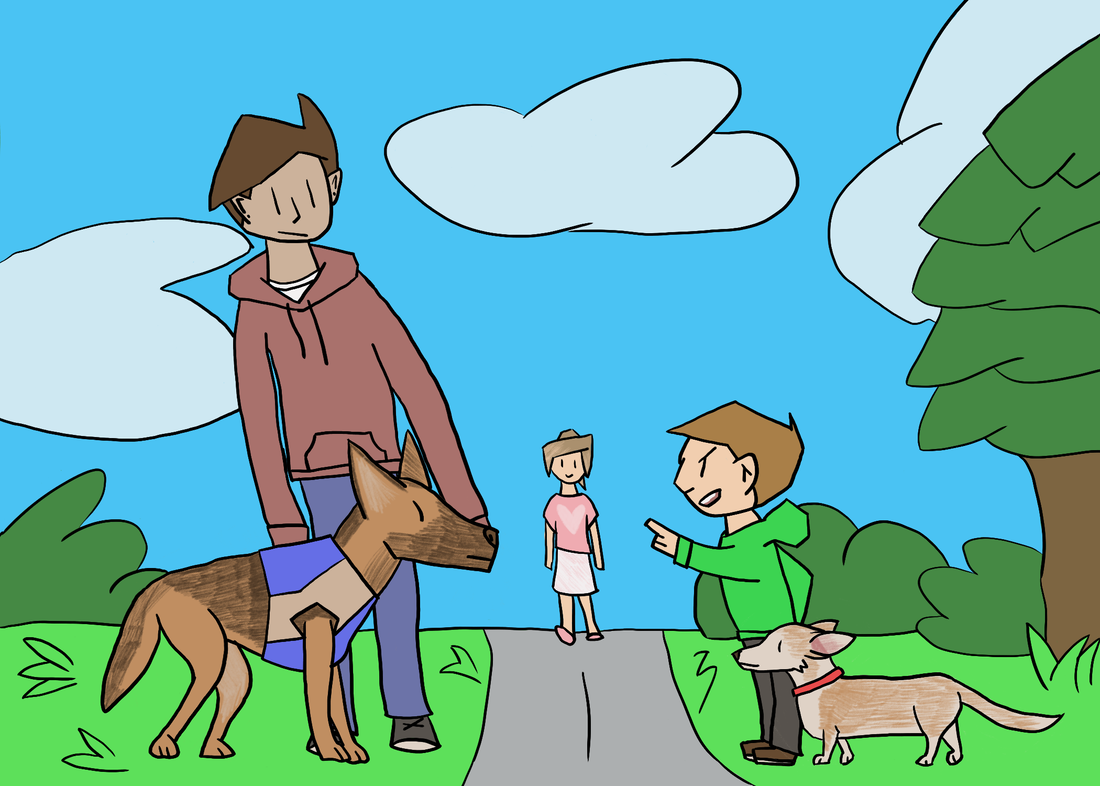
Assignment 4: Photoshop Battles!
Here is your context.
https://old.reddit.com/r/photoshopbattles/
You may use any photo that would suit the assignment.
Manipulate any photo in the spirit of photoshop battles! Use your imagination and all the tools you've learned in the previous assignments.
https://old.reddit.com/r/photoshopbattles/
You may use any photo that would suit the assignment.
Manipulate any photo in the spirit of photoshop battles! Use your imagination and all the tools you've learned in the previous assignments.
Here are a few student examples:

Credit: Xander Panelli
|

Credit: Nathan Weir
|
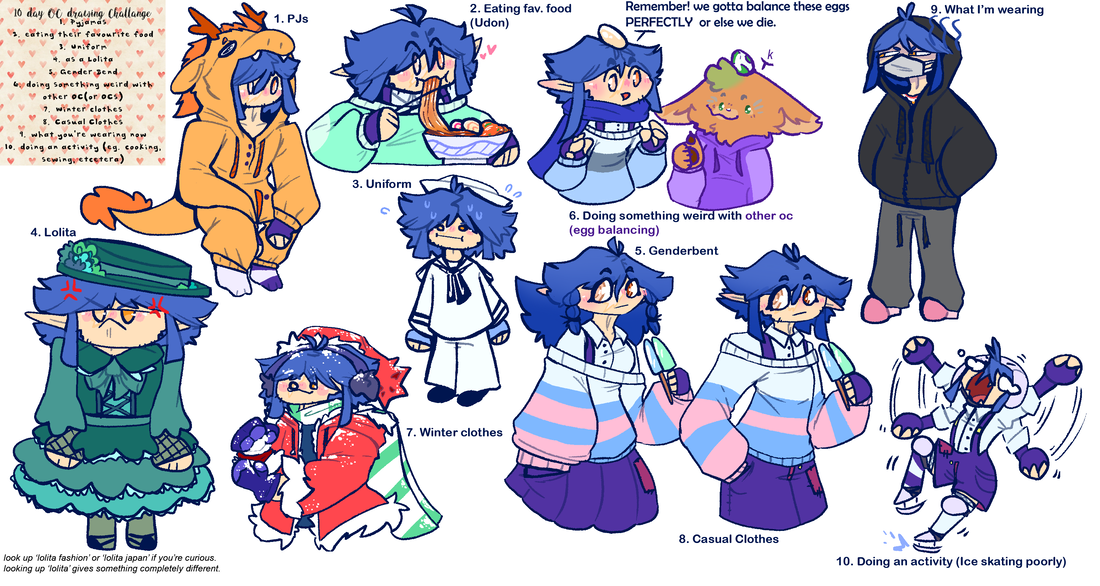
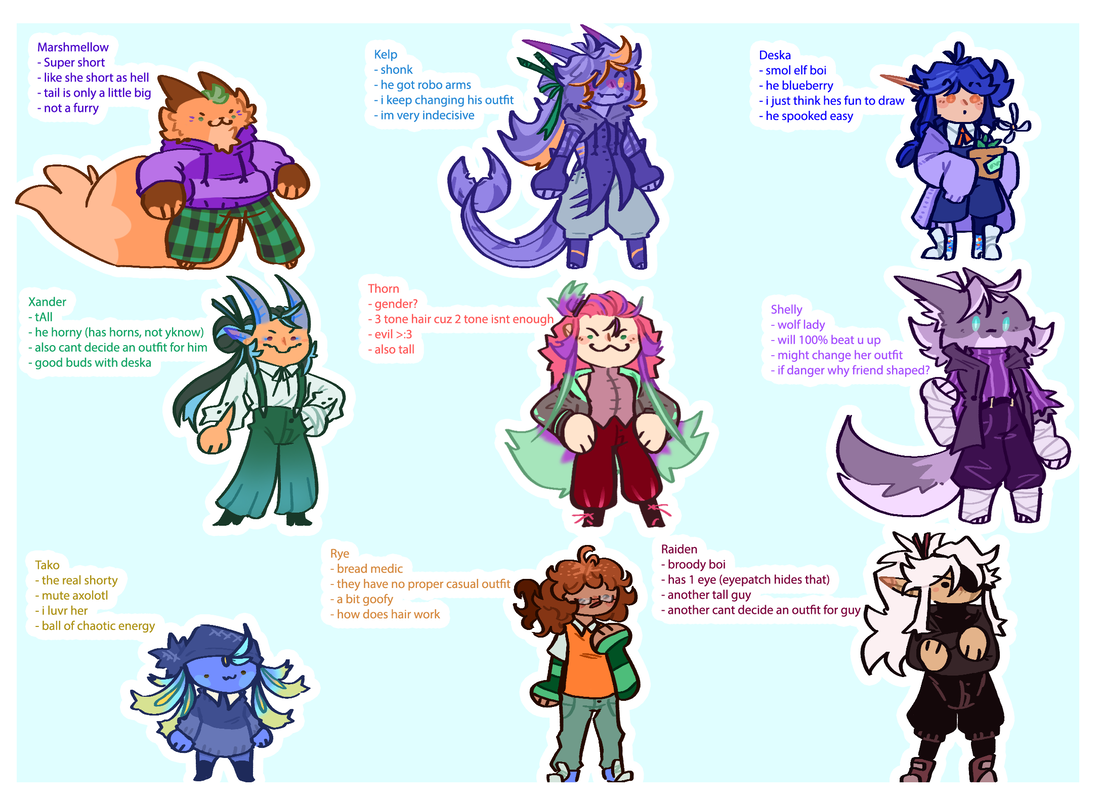
Assignment 5: Character Sheets/Free Design
You have 3 choices for this assignment: choose only 1
1. Create a character sheet for a project you will be pursuing at a later date, i.e. animation 2 or 3. The animation should include at least 2 to 3 poses and at least 3 expressions. Some examples:
1. Create a character sheet for a project you will be pursuing at a later date, i.e. animation 2 or 3. The animation should include at least 2 to 3 poses and at least 3 expressions. Some examples:
Credit: Livia Suppes
Credit: Livia Suppes
|


|
2. Submit an original piece of photoshop art
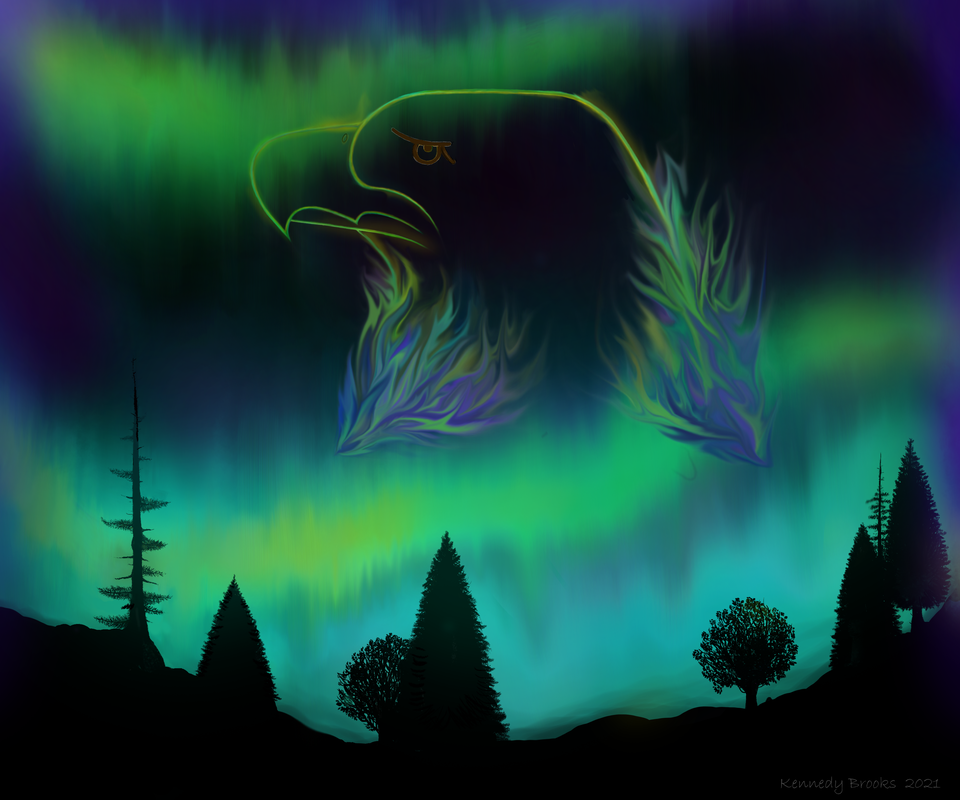
Credit: Kennedy Brooks
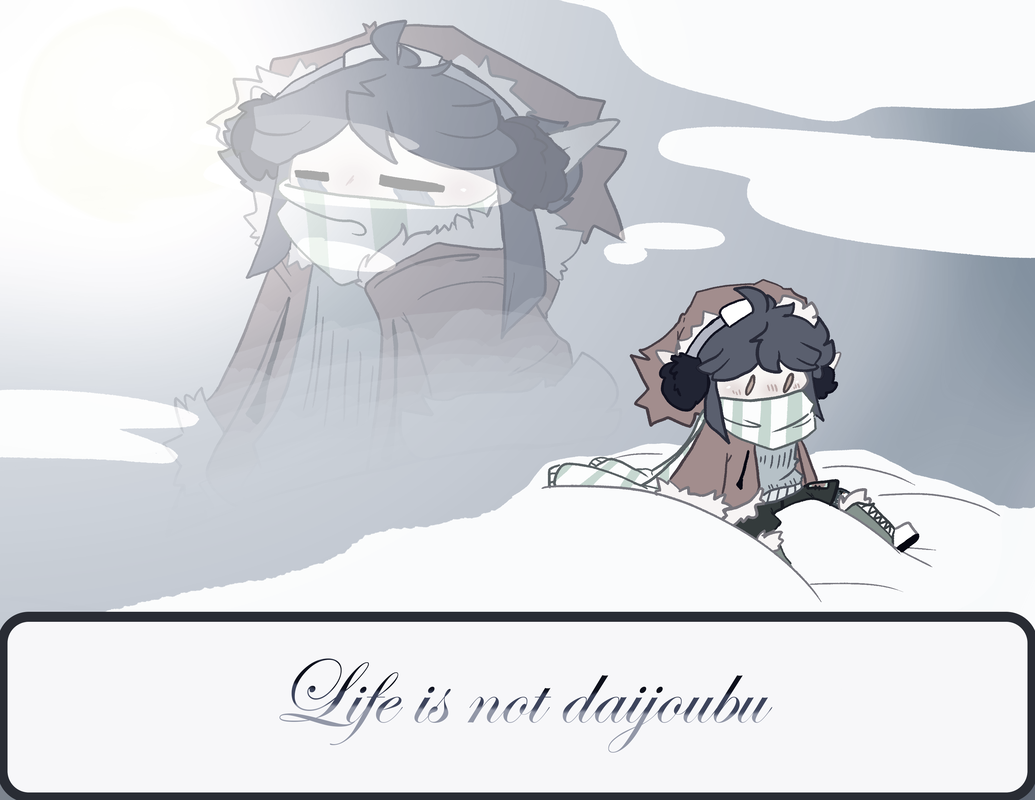
Credit: Livia Suppes
|
Credit: Emily Denisik
Credit: Emily Denisik
|
Assignment 6: Pixel Art for Games
For those of you pursing video game dev this year, here is a tutorial that teaches you how to make photoshop sprites for games:
www.youtube.com/watch?v=rLdA4Amea7Y&t=12s&ab_channel=Brackeys
www.youtube.com/watch?v=rLdA4Amea7Y&t=12s&ab_channel=Brackeys
